The safe extraction rule
Start with the highest quality scan you have and isolate only the handwritten signature, leaving a small margin around every stroke. Check that printed lines, dates, names or other document details have not entered the crop. Save the extracted signature separately from the original document, then resize or place it on another file only when that use is authorised and the receiving workflow accepts a signature image.
A scan is not the same as a signature image
A scanned form can contain a name, account number, date, address, application number, printed labels, lines, notes and a handwritten mark in the same rectangle. A signature image should contain the genuine mark with a small clean background margin, not the document around it.
Begin with the clearest source available. A compressed screenshot can merge thin ink with a ruled line or nearby text. Keep the original page untouched so you can compare the extracted result with the exact source region.
What belongs in the crop
| Element | Keep in the crop? | Reason |
|---|---|---|
| Handwritten strokes | Yes | They are the mark you are isolating. |
| Small clean margin | Yes | It protects the first and last stroke from clipping. |
| Printed name below | No | It is document text, not part of the handwriting. |
| Date | Only when the workflow asks for it | Do not carry extra information into a reusable image. |
| Table border or line | No | The form line can look like an extra stroke. |
| Application number or personal details | No | They are unrelated information and a privacy risk. |
The purpose is not to make a prettier crop. It is to separate the actual mark from the document so the next person or tool can review what is being used.
Extraction can reduce the information carried forward
Separating the signature from a scanned form can reduce the names, dates, addresses and reference numbers that travel into a later workflow. That is a data minimisation choice, not a promise that the source has disappeared.
Keep the original scan in a private location, use the extracted copy only for the authorised task and remove unnecessary duplicates according to the relevant retention choice. Do not upload a full private form when a clean signature source is enough.
Automatic detection can find a region, but it cannot know your signature perfectly
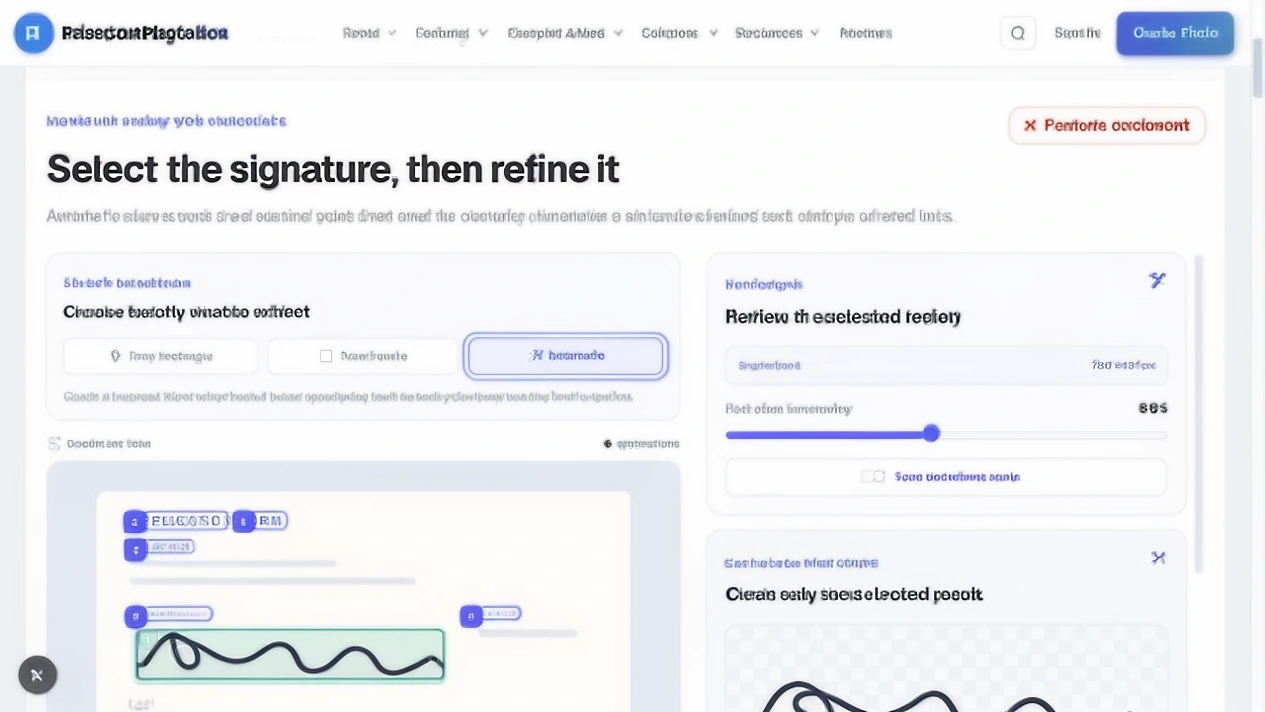
Automatic detection can highlight areas that look like handwriting. It cannot understand your personal writing, the meaning of a nearby date or whether a line belongs to the form. Look at the first stroke, last stroke, dots, loops and tails before accepting a suggested region.
If the suggestion is too wide or misses a thin part, switch to manual selection. A human check is part of the extraction, not an optional polish step.
What automatic extraction can get wrong
| What can be included or missed | Why it happens | Your check |
|---|---|---|
| An underline | The line has enough contrast to resemble ink. | Check whether the line belongs to the form. |
| A clipped tail | The suggestion box ends at the darkest connected region. | Compare the end of the mark with the source page. |
| A nearby date | Printed characters sit close to the handwriting. | Remove typed text from the crop. |
| A stamp overlap | The stamp shares pixels with the signature. | Find a cleaner scan or select a smaller safe region. |
| Faint strokes | Low contrast disappears during detection. | Use a clearer source or manual selection. |
| Another signature | A page contains more than one handwritten region. | Confirm which mark belongs to the authorised signer. |
A page can contain more than one handwritten mark
Forms can include the applicant’s signature, a witness signature, an office note or an older mark. Automatic results are not proof that the largest or darkest mark is yours. Use the context of the page to select the mark you are authorised to use.
Do not extract another person’s signature for convenience. If the form needs a witness or official signature, follow that workflow instead of turning the mark into a reusable image.
Stamps can make extraction harder
A stamp or seal can overlap the handwriting, create a coloured patch or place a second border around the signature field. If the mark is still readable, use a tighter manual selection and the cleanup brush for small extra pixels. If the stamp hides part of the writing, do not use AI to invent the missing strokes.
A cleaner scan, a fresh copy of your own signature or an authorised signing workflow is safer than trying to reverse a heavy overlap.
Should the horizontal signature line stay?
The line under a signature belongs to the form, not automatically to the handwriting. Leave it out when you can select the ink cleanly. If the line runs through the ink or the source does not provide enough separation, keep the clean master with the smallest honest margin and do not pretend the line was removed perfectly.
When the final destination accepts a white background, a thin leftover line can remain visible. Review it at the destination size before using the file.
A transparent signature is a design choice, not the same thing as extraction
Extraction answers which part of the document belongs in the crop. Background removal answers how the remaining pixels should appear in the next file. Keep the clean extracted source first, then choose a transparent PNG, white paper or another format based on the destination.
Transparent output can work well for placing an authorised image onto a document, while an application portal can specifically require a white paper JPG. Follow the receiving workflow rather than assuming transparency is always better.
The next task decides the useful output format
| Next use | Useful output | Check before saving |
|---|---|---|
| Recruitment or application upload | JPG/JPEG when the notice asks for it | Dimensions, KB range and white background rule. |
| PDF placement | Transparent PNG if the placement workflow accepts it | The PDF tool’s supported input and the receiving rules. |
| Clean reusable source | High quality PNG or minimally compressed master | Keep the complete ink and a small margin. |
| Formal electronic signing | The signing service’s own process | An image is not a replacement for a required signing method. |
Extraction and resizing prepare the image; signing is separate
Extraction identifies which pixels belong to the signature. Resizing changes the finished image to match a width, height or KB rule. Signing places a mark through a process that can involve identity, consent, authentication or an audit record.
Keeping these steps separate makes the preview easier to judge. A clean crop is not proof that the final document has been signed correctly.
One source can lead to different outputs
| Starting source | Operation | Result |
|---|---|---|
| Scanned document image | Extract the selected region | Clean signature master |
| Clean signature master | Resize for a portal | JPG/JPEG upload copy |
| Clean signature master | Place on a PDF | A document with a visible image mark |
| Clean signature master | Archive privately | A source copy for an authorised future task |
A scanned signature image is not a cryptographic digital signature
NIST describes a digitized signature as an electronic image made from a visual handwritten signature and distinguishes it from a digital signature. An image can be copied and appended to other electronic data; a cryptographic digital signature uses algorithms to authenticate the signatory and detect unauthorised changes.
That is why an extracted PNG can be useful in a workflow that accepts an image while still being the wrong answer when a form asks for signing with a certificate or another cryptographic method.
Handwritten image, electronic signature and digital signature
| Term | Plain meaning | What an extracted PNG proves |
|---|---|---|
| Scanned or digitized signature | A visual image of a handwritten mark. | It shows selected pixels; it does not prove identity or consent. |
| Electronic signature | A broader electronic method used to show agreement or signing intent. | The image alone does not provide the whole signing process. |
| Digital signature | A cryptographic signature tied to data and a signing identity. | An extracted image is not this mechanism. |
In India, a scanned image and a regulated digital signature are not the same thing
Indian electronic signature rules distinguish a visual signature image from a digital signature created with a certificate. An image pasted into a form should not be described as a replacement for a regulated signing process, especially for government filings or workflows that name a certificate, electronic KYC or approved authentication method.
Read the receiving authority’s directions. Adobe’s India overview and the IT framework it discusses are useful background, but the application or service still decides which signing method it accepts.
When extracting your own signature can be useful
- Preparing your own signature image for an application that accepts an upload.
- Moving your own authorised mark from a scanned form into a permitted document workflow.
- Creating a clean source before resizing it to a portal’s current dimensions and KB range.
- Removing unrelated form details before reviewing the privacy of the next file.
When an extracted signature image is not the right tool
Example: extracting your signature from a scanned application form
Imagine your signature sits below a printed name and beside an application number. Select around the complete handwriting, leave a small margin, keep the name and number outside the box and check whether a horizontal form line has entered the crop. Save the extracted master before sending it to Signature Resizer for a 140 × 60 JPG only when the current application asks for that output.
If the document contains another person’s signature, select only your own mark and confirm that you are authorised to reuse it. Do not use a crop that hides the surrounding context when that context is needed to identify whose mark it is.
A PDF can look sharp while its embedded scan is poor
A PDF viewer can render a page smoothly even when the underlying scan has low pixel dimensions. Once you export that page as an image, the signature can look soft or blocky. Use the highest quality page export available and compare the ink at its actual size before extracting.
If the page is a text PDF with a separate vector or signing layer, an image crop is a different workflow from using the PDF’s own signing features. Check what the file actually contains before choosing an extractor.
Straighten the page before making a very tight crop
A rotated or skewed page can make the signature box look larger on one side and can bring a nearby line into the crop. Straighten the source first when the scan is visibly tilted, then select the complete mark with an even margin.
Not every source has black ink on white paper
Blue ink, warm paper, grey scans and coloured forms can all change the contrast between the handwriting and the background. Do not force every source into black ink during extraction. Preserve the original colour in the clean master, then choose black, blue or the original colour only when the next workflow allows that change.
When extraction is the wrong starting point
Start with a new clean source when the signature is cut off, too faint, blurred, heavily crossed by a stamp or mixed with unreadable text. Extraction can isolate existing pixels; it cannot honestly reconstruct what the scan did not record.
Do not use generative AI to invent missing handwriting or make another person’s mark look like a clean source. A fresh authorised signature or the organisation’s signing process is the correct next step.
Compare the extracted image with the exact region of the scan
Put the extracted preview beside the source region and check the first stroke, final tail, dots, loops, joins and any small marks. Then look for unwanted printed text, form lines, dates, stamps or another handwritten mark.
Before saving the extracted signature
- The complete mark is visible, including the first stroke and final tail.
- The crop does not include a name, date, line, stamp or application number.
- The output background and file format match the next authorised use.
- The original scan is stored separately for comparison and record needs.
Keep one clean extracted master
Save a high quality extracted master before resizing, placing or recompressing it. The next application can ask for a different canvas, file type or background. A master gives you a stable starting point and keeps later outputs from becoming a chain of reduced copies.
Use a descriptive but restrained filename, protect the source folder and remove temporary copies when the relevant retention choice allows it.
Extract a signature with PassportPhotoBox
The live Signature Extractor currently works with document images in JPG, PNG or WebP format. The page itself states that a PDF page should be exported as an image before extraction. Its workflow gives you both a suggestion path and a manual path:
- 1.Choose Choose document and upload the clearest document image.
- 2.Use Automatic to review suggested regions, or choose Draw rectangle / Draw square for a manual area.
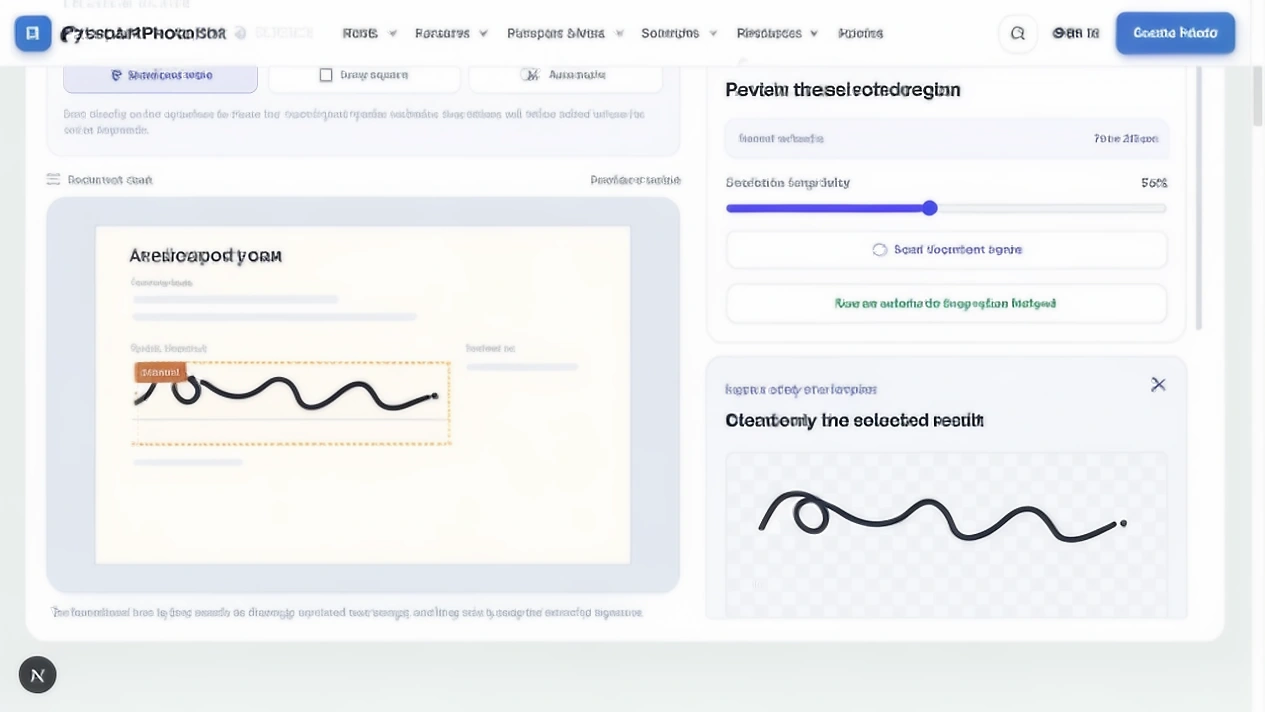
- 3.Check Review the selected region against the original document.
- 4.Use the Signature enhancer only to clarify existing edges; use Erase extra or Restore ink for careful cleanup.
- 5.Choose Transparent or Original paper based on the destination.
- 6.Use Extract My Signature or Continue to Signature Resizer after the output matches the source.
Check the extracted result before using it
When you use a new document type, make a copy and inspect what the extractor selects. A document image with a blank margin, printed text near the signature or a line crossing the ink can reveal unwanted pixels before you use a private form.
| Source detail | What to inspect | What a safe result should show |
|---|---|---|
| Signature with a blank margin | Crop size and output scale | Whether the clean result keeps the mark prominent. |
| Signature crossing a line | Manual selection and cleanup | Whether the line can be kept outside or erased safely. |
| Signature beside a date | Automatic region boundaries | Whether printed text enters the output. |
| Faint blue ink | Detection and colour handling | Whether the source needs a clearer scan. |
| Two signatures on one page | Candidate choice | Whether the user can select the authorised mark. |
| Stamp overlap or rotated page | Review of edge cases | Where the tool needs manual judgement or a new source. |
For privacy, check what the current tool sends, what stays in the browser and whether a saved project or metadata remains. Use the product’s current privacy information when you need details about retention.
Clarify the PDF boundary before you upload
The current Signature Extractor interface accepts document images and tells the user to export a PDF page as an image first. That means the article should not promise direct PDFs with multiple pages extraction. Choose the relevant page, export it clearly and then review the resulting image.
If you are unsure whether a PDF contains a scanned page, selectable text or a separate signing layer, inspect the file before choosing the operation. Text selection and signature image extraction are not the same task.
Applying an extracted image to a PDF needs its own review
Placing an extracted image on a PDF creates a visible mark in a document. It does not automatically add identity verification, consent evidence, a certificate, an audit trail or cryptographic protection. Review every page after placement and follow the receiving organisation’s signing rule.
Use Apply Signature to PDF only when the workflow permits a signature image. If it asks for a secure signing service or a live signature, follow that requirement instead.
Signature extraction questions
Can I extract my signature from a scanned PDF?
The PassportPhotoBox Signature Extractor currently works with document images. Export the relevant PDF page as a JPG, PNG or WebP image first, then review the extracted result. If you already have a separate signature and only need to place it on a PDF, use the PDF placement tool instead.
How do I remove the line under a scanned signature?
Select the signature without the line when possible. Use a manual rectangle or the extractor’s Erase extra brush for a small unwanted mark, then compare the result with the original scan. If the line crosses the handwriting, start with a cleaner source rather than guessing which pixels belong to the pen.
Can I extract someone else’s signature from a document?
Do not extract or reuse another person’s signature unless you have clear permission and the receiving workflow authorises that use. A clean crop does not create consent or signing authority.
Is an extracted signature the same as a digital signature?
No. An extracted image is a digitized visual mark. NIST distinguishes that type of image from a digital signature that uses cryptographic algorithms to authenticate a signatory and detect unauthorised changes.
Should I make the extracted signature transparent?
Keep a clean extracted master first. Choose transparent PNG only when the next document accepts it; use white paper or JPG when the receiving portal asks for that format.
Should I resize the signature during extraction?
It is cleaner to extract the complete signature first and save that source. Resize afterward for the specific application’s dimensions and file size limit.
Separate the signature from the document
Review the crop, preserve the original and prepare only the output the next workflow accepts.
Extraction should remove the document around the signature, not change the signature
A responsible extraction keeps the complete genuine mark, removes unrelated document details and preserves the original for comparison. Automatic detection can save time, but the final crop still needs a human review.
Then choose the next step deliberately: resize for a portal, place the image on a permitted PDF or use a formal signing workflow when the organisation requires one. A clean image is useful only when it remains authorised and matches the receiving process.
Official and technical guidance checked for this article
Application requirements and signing rules change by organisation, country and workflow. Open the source that matches your use case, then read the current notice before preparing the final file.