Introduction
Printing a passport photo at home looks simple until the first copy comes out slightly smaller than expected. A setting such as Fit to Page can reduce the complete sheet even when the digital design was prepared correctly.
The same problem can happen at a local print shop. If you ask only for a “passport photo print”, the operator can use a different crop, change the scale, or place the image inside a standard shop template that does not match your application.
This guide explains how to keep the digital photo and the physical print connected. You will learn how to prepare a 4R or A4 sheet, choose paper, check the print dialog, measure one copy, and decide whether the final result is ready to submit.
The correct size still comes from the authority receiving the photograph. This guide explains the printing process. It does not decide the photo size or paper rule for a particular passport, visa, identity document, or application.
Choose the individual photo size before the paper size
The sheet is not the passport photo. It is only the paper that carries several copies of the prepared photo.
For example, a 4R sheet can be 4 × 6 inches, but each image on that sheet could be 35 × 45 mm, 40 × 50 mm, 50 × 70 mm, or 2 × 2 inches. Choosing 4R does not automatically make every image on it a correct passport photo.
Start with the exact application instructions. Confirm the required width, height, head position, background, and whether the authority asks for a printed photo or a digital upload.
Once the individual photo has been prepared, place it on the selected sheet without stretching it. The sheet layout should preserve the physical size of each copy when printed.
Understand 4R and A4 print sheets
A4 paper measures 210 × 297 mm. It is easy to find and works well when you want several copies or need space around the layout.
A 4R photo print most of the time measures 4 × 6 inches, which is about 102 × 152 mm. It is convenient when you need a small number of copies and want to order a standard photo print from a local shop.
| Sheet type | Approximate physical size | Useful for |
|---|---|---|
| 4R | 4 × 6 inches, about 102 × 152 mm | A small number of photos on a standard photo print |
| A4 | 210 × 297 mm | Several copies, larger layouts, or printing at home |
| Letter | 8.5 × 11 inches, about 216 × 279 mm | Applications or printers that use United States Letter paper |
The paper size and the image size are separate values. A photo placed on A4 does not become an A4 photo. The prepared image must keep its own width and height inside the page.
Check the selected paper size in the print dialog before pressing print. If the file was created for A4 but the printer is set to Letter, the page can be reduced or parts of the layout can be cut.
Estimate how many photos can fit
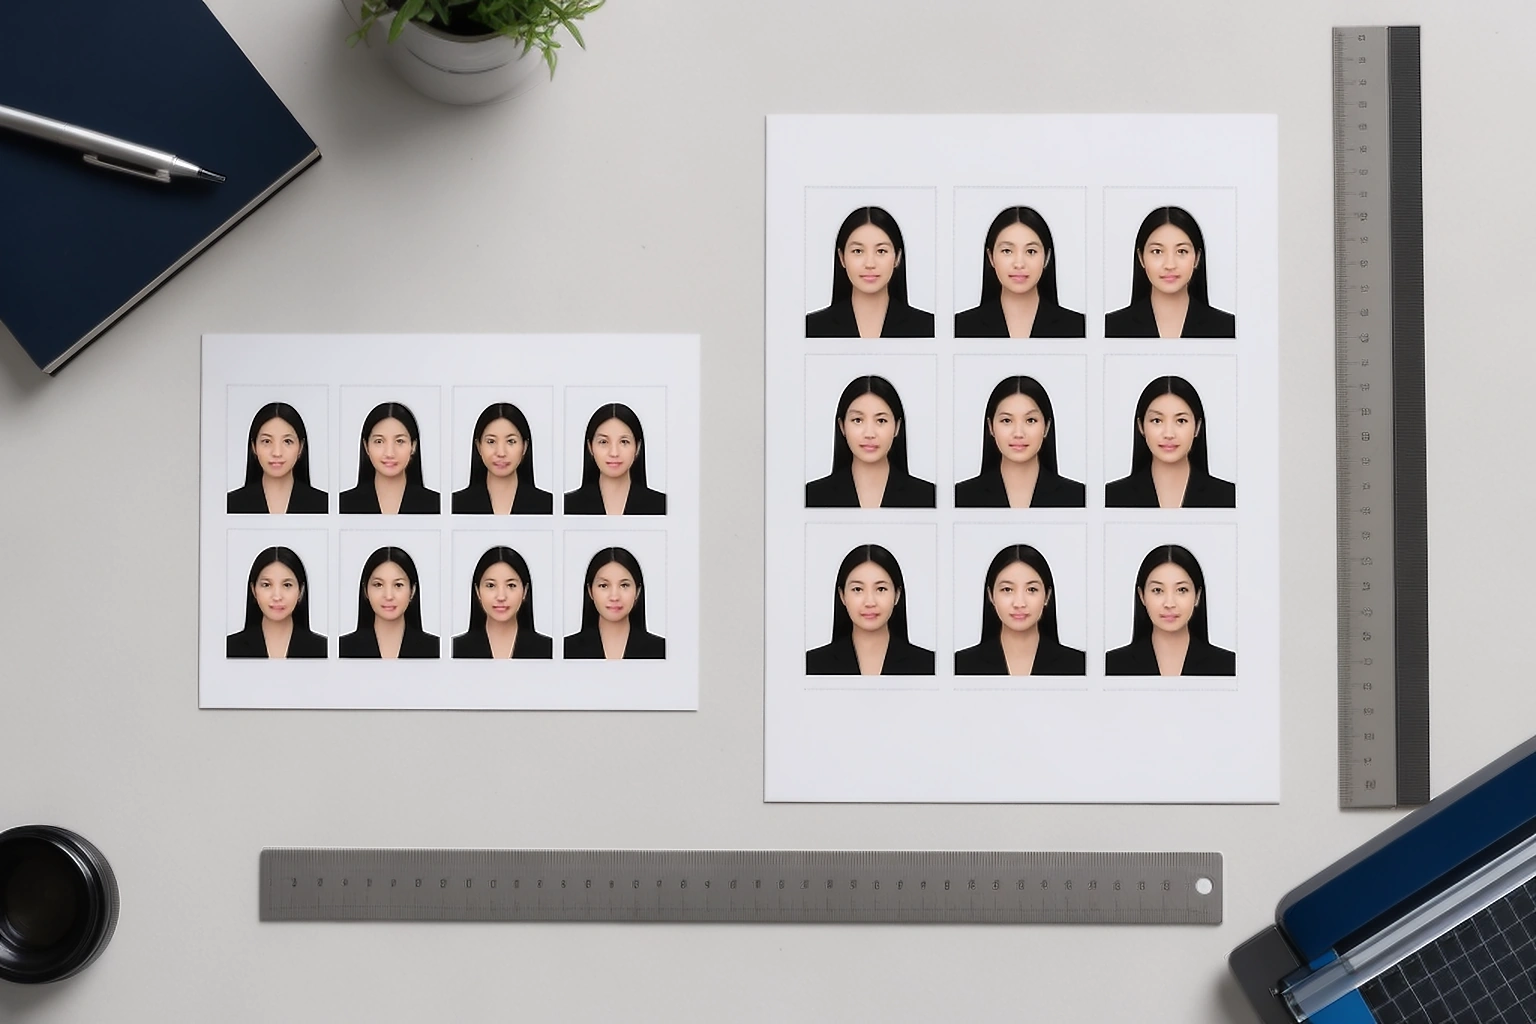
The number of copies depends on the photo dimensions and the space left between them. The following estimates assume a simple layout with small outer margins and a gap of about 2 to 4 mm between copies.
| Individual photo size | Estimated copies on A4 | Estimated copies on 4R |
|---|---|---|
| 35 × 45 mm | About 25 | About 6 to 8 |
| 40 × 50 mm | About 20 | About 4 to 6 |
| 2 × 2 inches | About 15 | About 6 |
| 50 × 70 mm | About 9 | About 2 to 4 |
These are layout estimates, not official requirements. A printer can need a larger non printable border. A shop can also add its own margin or crop the page during processing.
Do not fill the sheet so tightly that the images touch each other. A small gap makes cutting easier and reduces the chance of trimming into the face or shoulders.
If the layout contains crop guides, leave enough space for the cutting line. The guide should sit between copies rather than through the visible photo.
Use the correct printer settings at home
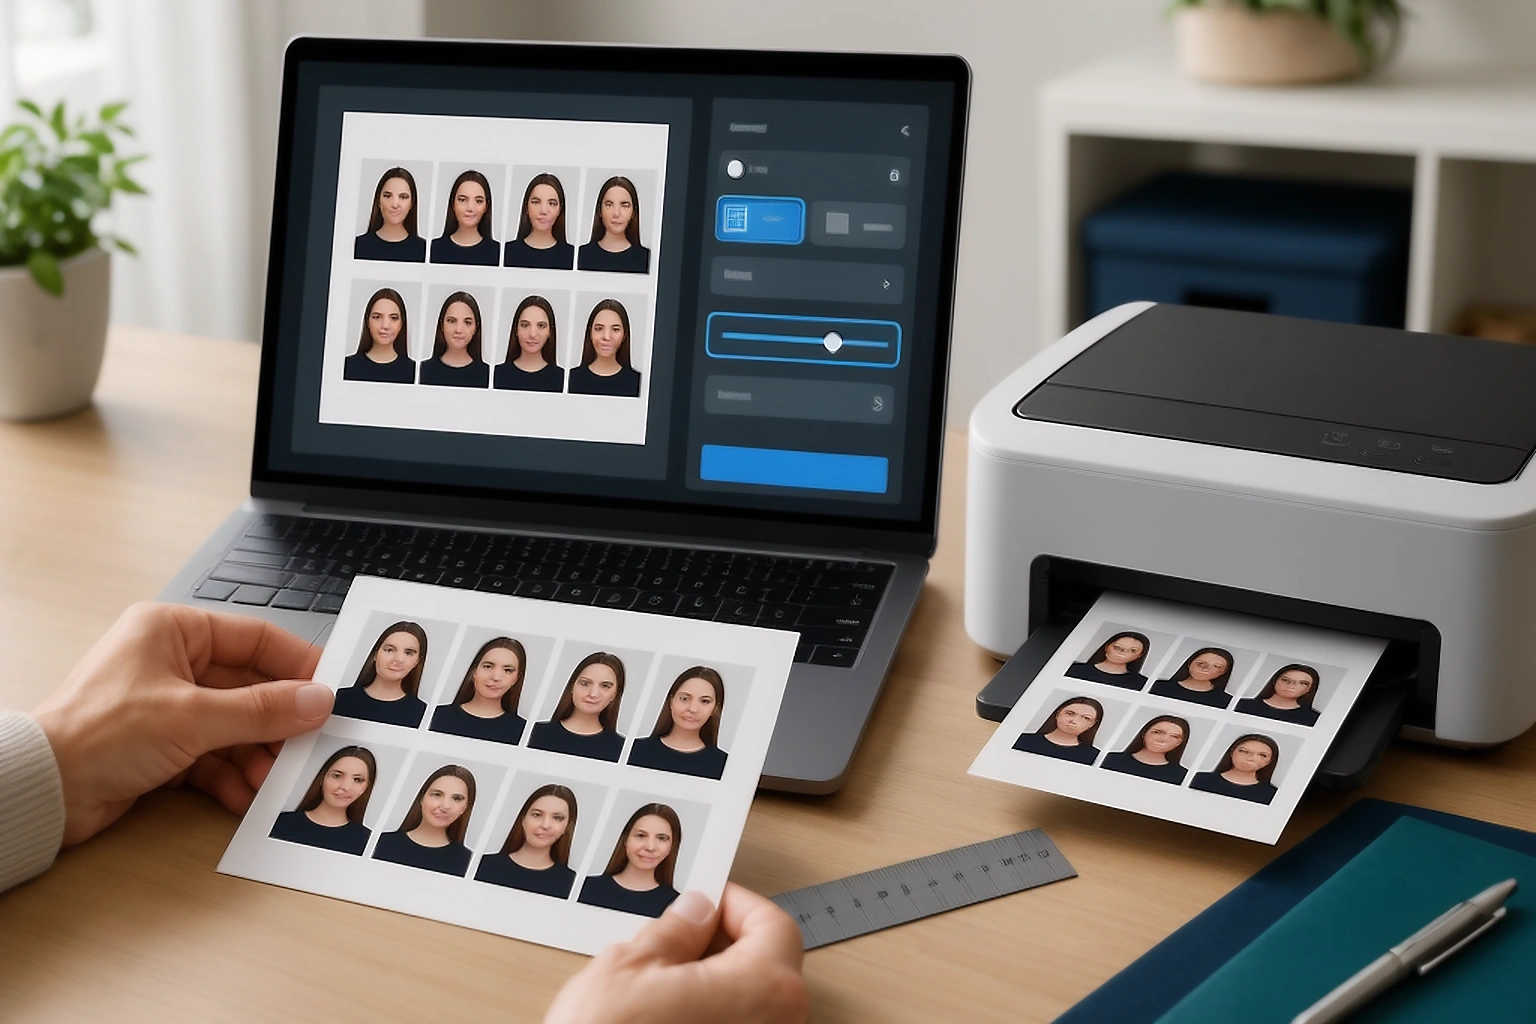
The print dialog controls whether the physical copy keeps the size from the prepared sheet. The safest setting depends on how the page was created.
For a prepared A4 sheet printed on A4 paper, select the following:
- Choose A4 as the paper size.
- Select portrait or landscape according to the layout.
- Use
Actual Sizeor100 percentwhen the page is already prepared for that paper. - Turn off automatic scaling unless you have checked the resulting physical measurement.
Fit to Page can reduce the complete layout to fit inside the printer’s printable area. That can make each passport photo smaller than the size shown in the file.
Borderless printing can also change the scale on some printers because the printer enlarges the page slightly to cover the edges. Use it only when the sheet was prepared for borderless printing and the final measurement has been tested.
Select the highest suitable print quality when the application accepts home printing. A low quality mode can create visible dots, soft edges, or uneven colours even when the size is correct.
Choose paper according to the application
There is no single paper rule for every passport application. The paper type can depend on the country, the application route, and whether the image is being submitted digitally or on paper.
| Official example | Published print requirement |
|---|---|
| United States passport | Matte or glossy photo quality paper |
| United Kingdom paper passport application | Two identical photos measuring 45 mm high by 35 mm wide on good quality photographic paper |
| Canadian passport | Two identical photos measuring 50 mm wide by 70 mm high, with professionally printed high quality photographic paper |
| Australian passport | Heavy weight glossy paper of at least 200 GSM and dye sublimation printing rather than an inkjet print |
| Indian passport application for minors below four | A recent colour photograph measuring 45 mm by 35 mm with a plain white background under the published Passport Seva guidance |
The Australian paper rule should not be copied into every other application. In the same way, a paper accepted for a United States passport should not automatically be treated as suitable for a Canadian or Australian submission.
Some digital applications do not need a printed photograph at all. Confirm the submission type before spending money on paper or a shop print.
Give clear instructions to a local print shop
A local photo studio or print shop can print the sheet, but the operator needs the actual instructions. Saying “print passport photos” can lead to a standard template that changes the crop or size.
Take the prepared sheet to the shop as a complete file. Tell the operator:
- The paper size required, such as 4R or A4.
- The individual photo size required by the application.
- That the photos must be printed at the prepared physical scale.
- That automatic cropping or page fitting should not be applied.
Ask for one test copy before ordering several prints. Measure one image from edge to edge after printing. If it is wrong, the shop can correct the scale before wasting the rest of the paper.
Do not rely on a fixed price in a general article. The cost changes by city, paper, printer type, number of copies, and whether the shop sells a complete passport photo service. A clear printing instruction is more useful than quoting one price that can become outdated or apply only to one country.
Cut the photos only after measuring one copy
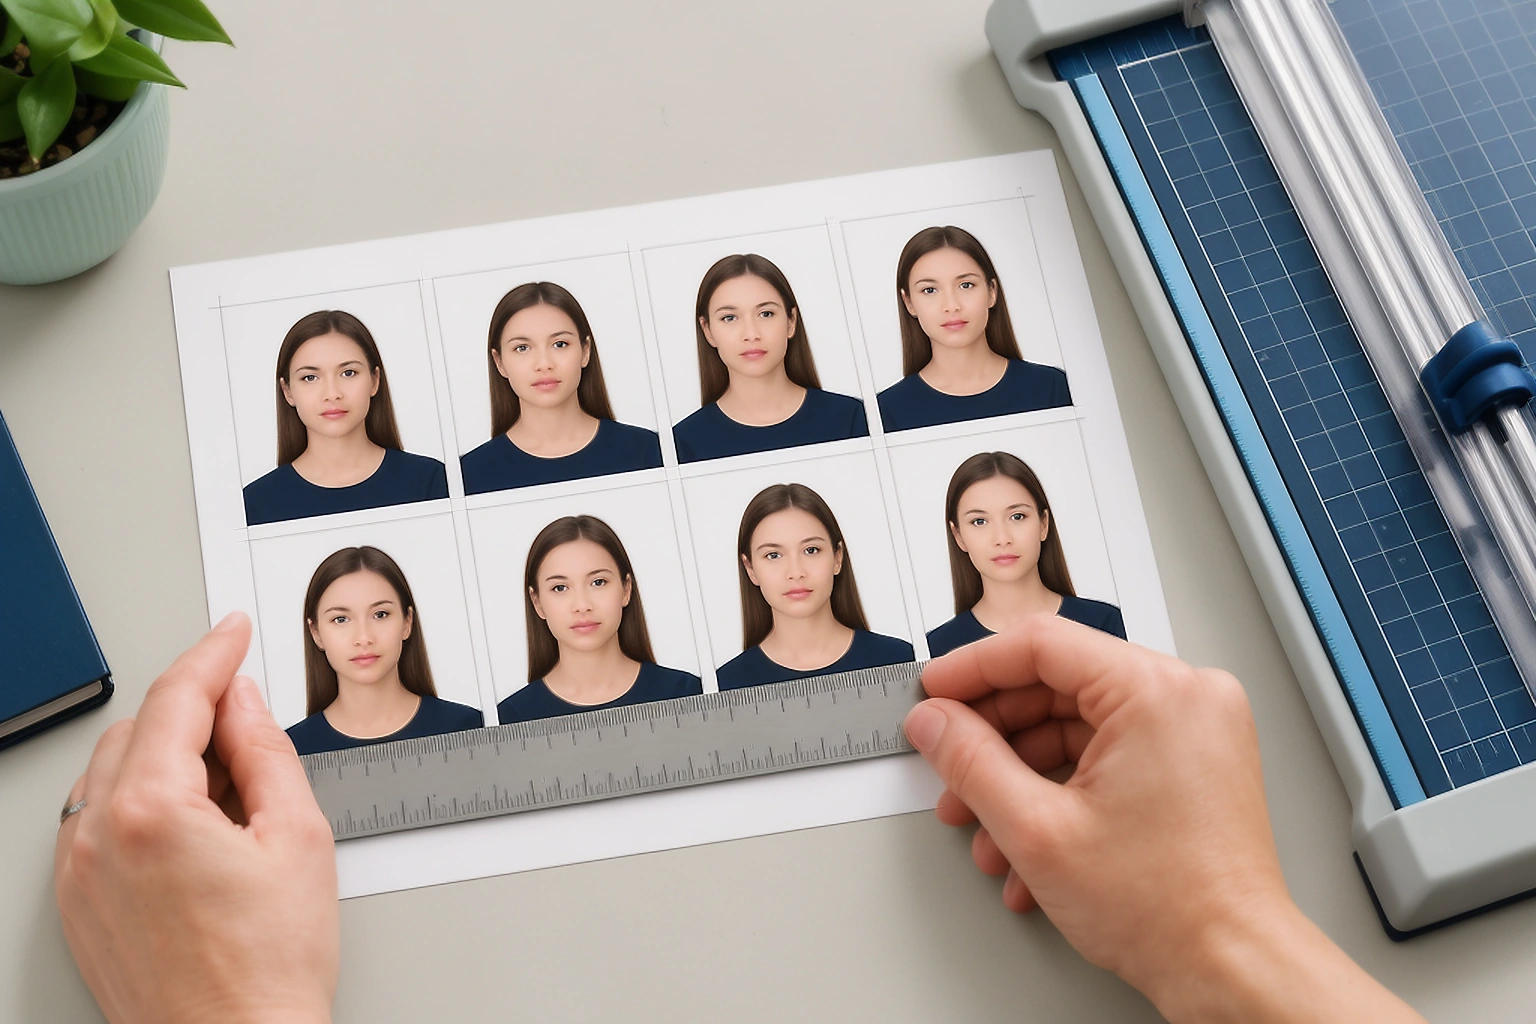
Cutting the whole sheet immediately can turn a small printing error into several unusable photos. Keep the sheet flat and measure one copy first.
Use a ruler to check the width and height. Then inspect the face position, visible shoulders, background, and the edges around the head. The photo can have the correct outer size but still be unsuitable if the face was placed too high or cropped too tightly.
If the measurement is wrong, stop before cutting the remaining copies. Correct the page scale or the print setting and print another test sheet.
A ruler is more reliable than judging the size by eye. On a phone or computer screen, a photo can look the right size even though the physical print is several millimetres different.
A practical example with a 35 × 45 mm photo
Suppose the application asks for a 35 × 45 mm photograph. The prepared individual photo is placed several times on an A4 sheet.
At 300 pixels per inch, the approximate digital profile for one 35 × 45 mm image is 413 × 531 pixels. That conversion helps with image preparation, but it does not replace the application’s own file or print instructions.
After placing the copies on A4, select A4 paper in the printer dialog and use Actual Size. Print one test copy and measure the image. If the result is 34 × 44 mm, do not stretch the individual photograph inside the editor. Check whether the printer reduced the complete page.
The same principle applies to a 40 × 50 mm or 2 × 2 inch photo. The physical measurement must be checked after printing because the page settings can change the result.
Do not confuse print size with digital size
A printed photo is measured with a ruler. A digital image is measured in pixels and checked through its file details.
At a working resolution of 300 pixels per inch, these approximate conversions are useful:
| Physical photo size | Approximate image size at 300 pixels per inch |
|---|---|
| 35 × 45 mm | 413 × 531 pixels |
| 40 × 50 mm | 472 × 591 pixels |
| 2 × 2 inches | 600 × 600 pixels |
These values are conversion examples. They are not universal upload requirements. The receiving authority can request a different pixel size, file format, file size, or image ratio.
A 4R print sheet can contain several small photos, while a digital upload can require one separate image. Do not upload the complete 4R or A4 sheet when the application asks for one digital photograph.
For detailed conversions, read the Passport Photo Size Detailed Guide.
Check the final print before submission
Before submitting the paper photograph, check these four points:
- The individual photo has the correct physical width and height.
- The face and head position match the application instructions.
- The print is sharp and free from visible lines, smudges, printer dots, or colour changes.
- The paper type and number of copies match the application requirement.
For a digital submission, open the exported image separately and confirm its format, pixel dimensions, and file size. The printed sheet and the digital file can require different checks.
Keep the original prepared file until the application is complete. If the print is rejected, you can return to the same layout and correct the actual problem instead of starting again from a screenshot.
sometimes asked questions
Can I print passport photos at home?
You can print at home when the application accepts home printed photos and your printer can produce a sharp photo on suitable paper. Print one test copy and measure it before cutting the complete sheet.
What is the best paper for passport photos?
The answer depends on the application. United States guidance accepts matte or glossy photo quality paper, while Australia specifies heavy glossy paper of at least 200 GSM with dye sublimation printing. Follow the paper instruction for the exact document.
Can I print passport photos on A4 paper?
A4 can be used to create a sheet with several copies when the application accepts that printing method. A4 is the page size, not the size of each individual photograph. The photos must retain their own required measurements.
Can I print passport photos on a 4R sheet?
A 4R print most of the time measures 4 × 6 inches and can hold several small photographs. Confirm the individual size after printing because the print shop can apply automatic scaling or use its own template.
Should I select Actual Size or Fit to Page?
Use `Actual Size` or `100 percent` when the prepared page already matches the selected paper. `Fit to Page` can reduce the complete layout and make each photo smaller than intended.
How many passport photos fit on an A4 sheet?
The number depends on the individual photo size, page margins, gaps, and printer limits. As a rough layout estimate, A4 can hold about 25 photos measuring 35 × 45 mm, about 20 photos measuring 40 × 50 mm, or about 15 square photos measuring 2 × 2 inches.
Can a print shop print my prepared passport photo sheet?
Yes, but give the shop the complete prepared sheet and explain the paper size and physical scale. Ask them not to apply automatic cropping or page fitting, then measure one test copy before ordering more.
Is a digital passport photo the same as a printed passport photo?
No. A digital image is checked in pixels, file format, and file size. A printed image is checked with a ruler and can also have paper and print quality requirements.
Can I cut the entire sheet before checking one photo?
It is safer to measure one printed copy first. If the printer has changed the scale, you can correct the settings before cutting the remaining copies.
The short conclusion
A good passport photo print depends on more than choosing glossy paper and pressing print. The prepared photo must keep its physical size, the page must match the selected paper, and the printer must not silently reduce or enlarge the layout.
Whether you use an A4 printer or a local 4R print shop, test one copy and measure it before cutting the sheet. That small check gives you a clear answer about the final print instead of relying on how it looks on the screen.
Check the photo before printing
Open the PassportPhotoBox editor to prepare the photo for the required size and layout. Keep the official application instructions open because the receiving authority decides the final photo and paper requirements.
Official sources checked on 30 August 2026
The following official pages were used to verify the country specific printing examples in this guide.